# Create new Project
Go to Projects and click New Project.
Provide a name for the project.
(Optional) Check the Public check box to make the project public.
NOTE: If you set the project to Public, any user can pull images from this project. If you leave the project set to Private, only users who are members of the project can pull images. You can toggle projects from public to private, or the reverse, at any moment after you create the project.
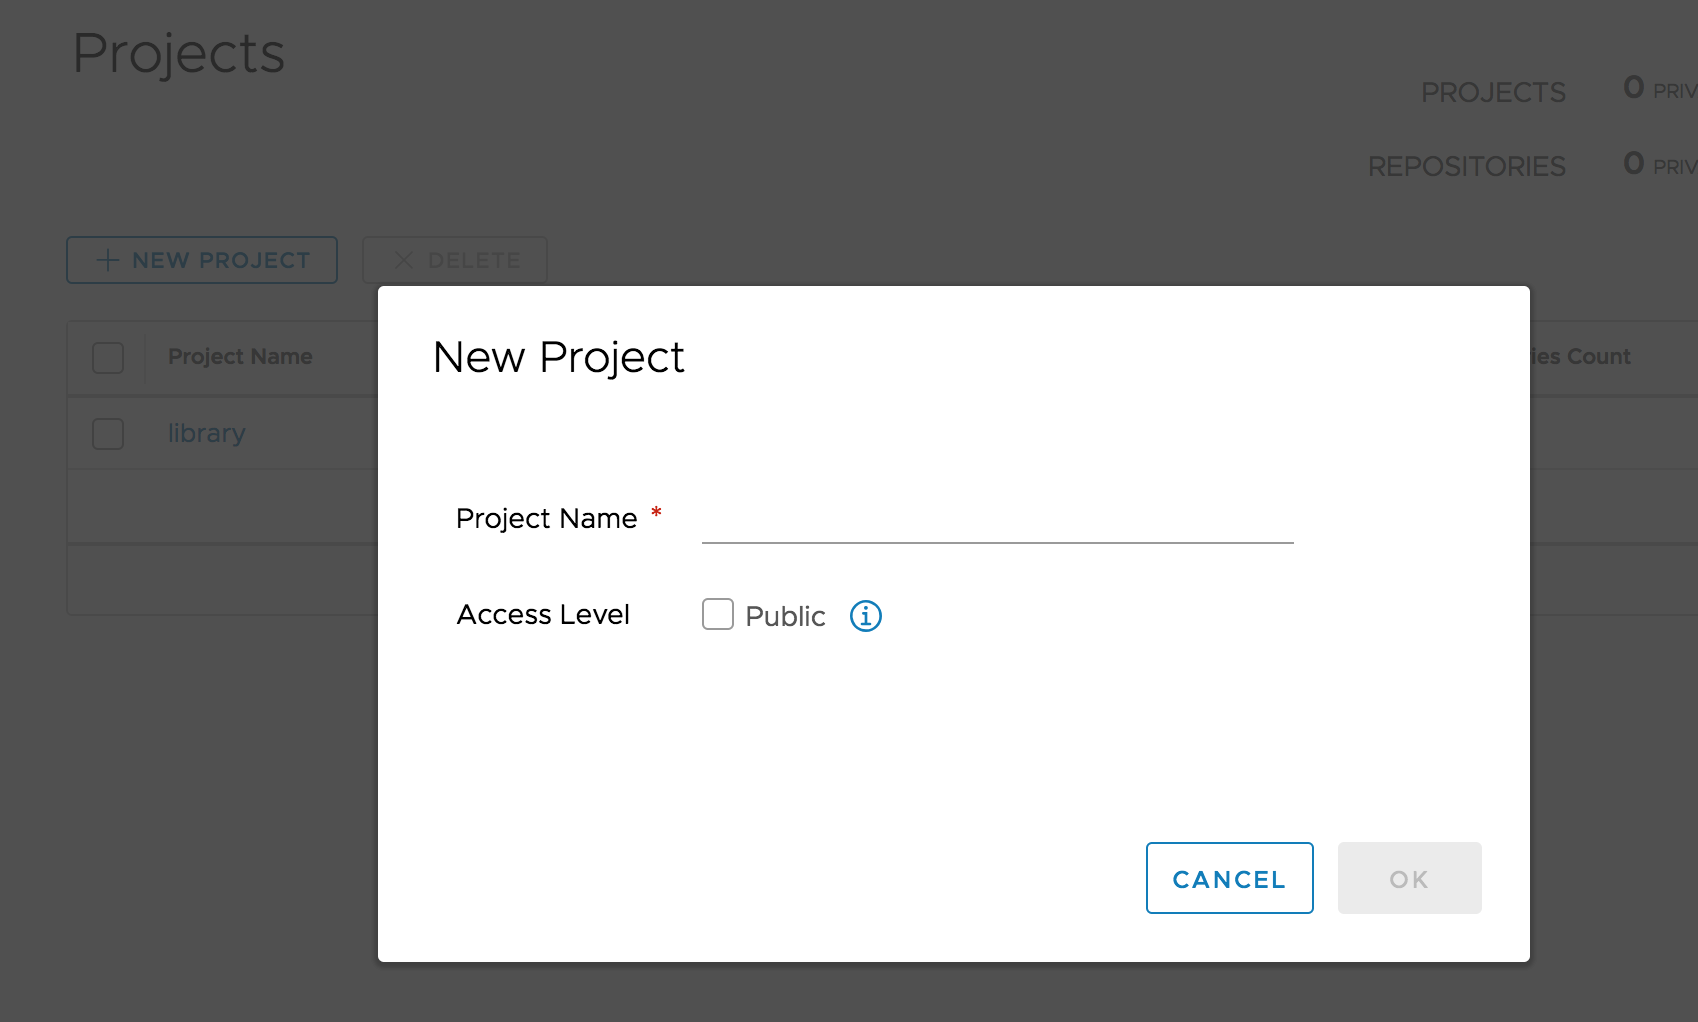
Click OK.
After the project is created, you can browse repositories, members, logs, replication and configuration using the navigation tab.